
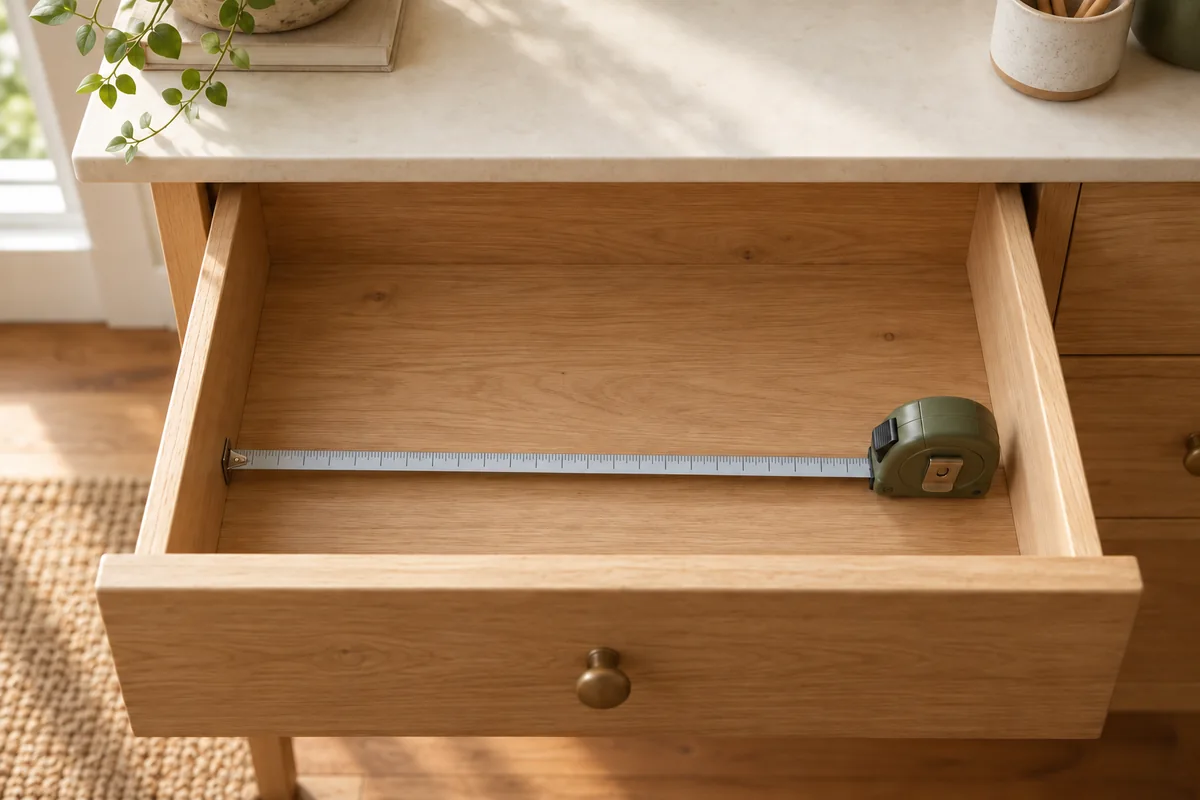
Measure the space inside your drawer, then check whether an organizer can pass through the opening and leave enough room for the drawer to close. The furniture’s exterior measurements will not tell you whether an insert fits.
You’ll need a tape measure or ruler, paper, a pencil, and the organizer’s exact exterior dimensions. Use the same units throughout. If a listing gives only a size label such as “small,” ask for measurements before buying.
1. Empty the drawer and look for obstructions
Remove loose contents and any liner you plan to replace. If you’re keeping a liner, measure with it in place, since it takes up some height.
Look for curved corners, sloping sides, protruding hardware, and anything that narrows the space. Also check the opening above and around the drawer. A tray might fit on the bottom but be difficult to insert beneath a fixed desktop or cabinet rail.
Open the drawer normally. Do not force it past its stop or remove it unless the furniture’s instructions explain how.
2. Measure the usable width and depth
Measure the interior width from side to side at the front, middle, and back. Record the narrowest measurement. Then measure the interior depth from front to back at more than one point and record the shortest usable distance.
If the tape case occupies part of the gap, the exposed blade alone is not the complete width. Follow your tape measure’s instructions for inside measurements, or use a ruler to measure edge to edge.
Take these measurements where the organizer will sit. If the drawer sides slope inward, repeat them at the organizer’s proposed top height. A tray that fits at floor level may be too wide higher up.
Keep your notes precise rather than rounding up. If the tape shows a little less than 15 inches, do not treat the drawer as a full 15 inches wide.
3. Check usable height and closing clearance
The drawer sidewall height is only a starting point. A rail or the underside of the furniture may limit the space above it as the drawer closes.
With the drawer stationary, identify the lowest overhead obstruction along its closing path and measure the available height from the drawer floor or retained liner. If you cannot see or measure that space reliably, check the furniture specifications or ask the manufacturer. Do not assume an unseen area is clear.
Compare that limit with both the organizer’s height and the items you intend to store. Pens standing upright or a bulky charger can extend above a shallow tray. The total loaded height must clear the obstruction.
Leave practical room for movement and handling. There is no single clearance allowance that suits every drawer: rounded corners, flexible materials, manufacturing tolerances, and hardware can all affect fit. Avoid relying on an exact edge-to-edge match. Keep fingers and measuring tools clear of moving drawer hardware.
4. Check the product measurements carefully
For each organizer, confirm:
- Exterior width, depth, and height: Include projecting rims, feet, handles, or lids.
- Individual piece sizes: A set’s overall listing dimensions may describe its packaging rather than every tray.
- Usable storage space: Exterior dimensions tell you about drawer fit; they do not prove an item fits inside a compartment.
- Adjustment limits: If an organizer expands, check the stated minimum and maximum dimensions and its installation requirements.
- The selected variant: Different sizes and piece counts may share the same listing photographs.
Do not assume that a tray can be turned, stacked, compressed, or adjusted unless its design and instructions support that use.
5. Make a paper layout
Cut paper rectangles to each organizer’s exterior footprint, or draw them to scale on a sketch of the drawer. Label every piece with its dimensions. For curved or irregular trays, a rectangular outline can be a conservative starting point, but check the actual shape before ordering.
Try the layout inside the drawer. Check corners and obstructions, and leave enough room to lift the trays out. A paper layout checks the footprint only; it does not verify height, loaded capacity, or whether a rigid tray can pass through the opening.
A hypothetical example
Suppose a drawer has a usable width of 15 inches, a depth of 18 inches, and a verified height limit of 2½ inches. Imagine four rectangular trays, each measuring 7 inches wide, 8 inches deep, and 2 inches high on the outside.
Arranged in two rows of two, their combined footprint would be 14 × 16 inches:
- Width: 7 + 7 = 14 inches, leaving 1 inch total
- Depth: 8 + 8 = 16 inches, leaving 2 inches total
- Height: 2 inches, leaving ½ inch below the stated limit before accounting for contents
Those are total differences, not allowances on every side. This layout is a candidate to check, not proof of fit. It still depends on the opening, tray shape, hardware, dimensional accuracy, and anything stored above the tray rims.
Before you order
Use this quick record to compare the drawer with the exact product variant:
- Narrowest usable drawer width: ______
- Shortest usable drawer depth: ______
- Lowest usable height along the closing path: ______
- Opening or insertion restrictions: ______
- Organizer exterior dimensions and piece count: ______
- Planned contents that extend above the organizer: ______
- Layout and removal space checked: ______
Review the return conditions before buying, especially if the fit is close. When the organizers arrive, place them in the empty drawer first and check movement gently before adding contents. Stop if anything catches or resists, then check the loaded arrangement as well.
A few measurements and a paper layout can help you rule out unsuitable sizes before placing an order.